What you'll need:
grown-up tie
iron
needle and thread
Sew-on velcro
Sewing machine (optional)
The good news for this project is that you only need a sewing machine for the last step (and even then you could do it by hand). The bad news is, there's a lot of hand-sewing. Expect this project to take about an hour if you're quick and don't have distractions or 2 or (in my case) 3 if you have little ones running circles around you.

Start by taking the tag off the back.

Then unstitch the back seam.

From top to bottom.

Take the lining out of the tie.

And cut it the width you want your little boy tie to be. The bottom of mine (to fit my 3 and 5 year old) is about 2 1/4". You're essentially starting by turning this tie into a skinny tie.

Put the lining back inside the tie.

Fold one side over to fit around the lining and iron. Do this down the entire length of the tie.

Trim any fabric hanging over the lining.

Repeat for the other side. Fold over and iron down the entire length of the tie.

Again trim fabric, leaving enough to fold under for finished look.

Fold edge under.

And iron all the way down.

You now have your long, skinny tie.

Hand-sew the seam shut, from one end to the other.

Measure how long you want the tie and put a pin there to mark the length. I did mine about 12" long.

This is where you might need your husband. Tie a knot just above your pin. My husband was not around, so don't judge my attempt at a knot, it's sub-par at best!

You now have a little boy tie with a really large neck.

Sew the knot in place so it won't come apart.

I put a stitch in the middle of the small piece of tie so it won't fly around.

Measure how long you want the neck pieces to be. You need enough to fit around your child's neck and a couple inches more than that to sew on the velcro. I did each side of mine about 7" long.

Cut the neck pieces just above your pins.

Hand-sew the ends under.

Pin the pieces of velcro on. Sew them on or hand-sew if you don't have a machine.

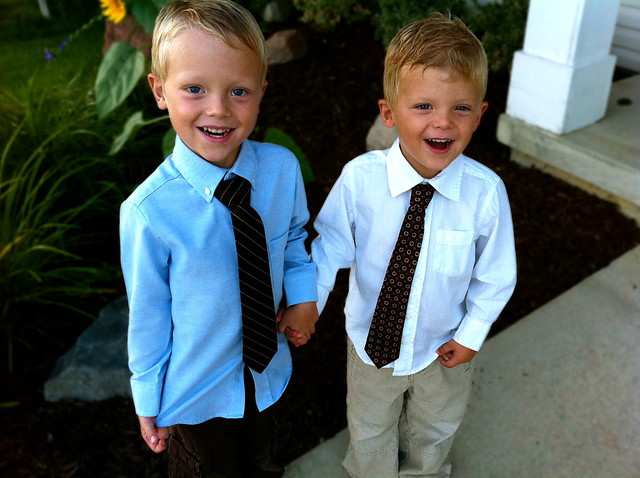
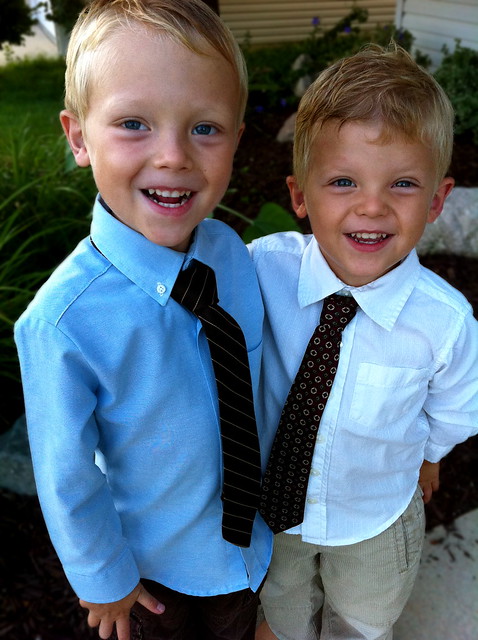
Then admire your new ties on your little boys! Yay! You're done at last!

The ties are so cute and the boys are even cuter!
ReplyDeleteThis is awesome. I don't have a machine right now, but what a great project. I'm super impressed, and btw, that last picture of your sweet boys is gorgeous!
ReplyDeleteThis is such a great idea. Thank you so much for sharing.
ReplyDeleteI still can't believe you figured that out, and I witnessed it first hand! I just had to comment because I think that is the most perfect picture of your boys EVER!!! It is so beyond frame worthy, I think it should be in a magazine or something! Seriously, they could not be better looking, I miss them (and you) soo much!
ReplyDeleteHandsome boys. I'm going to have to remember this when I have little boys!
ReplyDeletehow about using stitch witchery for those who are not great at sewing??
ReplyDeleteI'm not familiar with stitch witchery. But give it a try!
Delete