

Read ahead for the tutorial...
First of all, you're going to have to excuse the awful quality of these pictures. An iPhone just doesn't take good pictures without the right lighting. Someday I'll get a nice camera.
What you'll need:
* Fleece... 2 contrasting colors if you want the band at the bottom to be a different color
* Sewing machine
* 20 minutes!
Start by cutting out the pieces. I just used a ruler and a marker to draw the pattern on the fabric, then cut them out. This size is suitable for 2T-5T. One size fits all toddlers/preschoolers.
You'll need two triangles that are 14 1/2" high and 11 1/2" wide at the bottom, one long strip that's 21 1/2"x4 3/4" and four small strips that are 7"x1/2".

Overlap the 4 small strips to make a star and put a stitch in the center to hold them together.

Sew the two triangles with right sides together leaving the bottom open and about an inch open at the top.

From the inside of the triangles, push the center of the small strips through the 1" hole at the top.

Sew over the strips, closing the 1" hole.

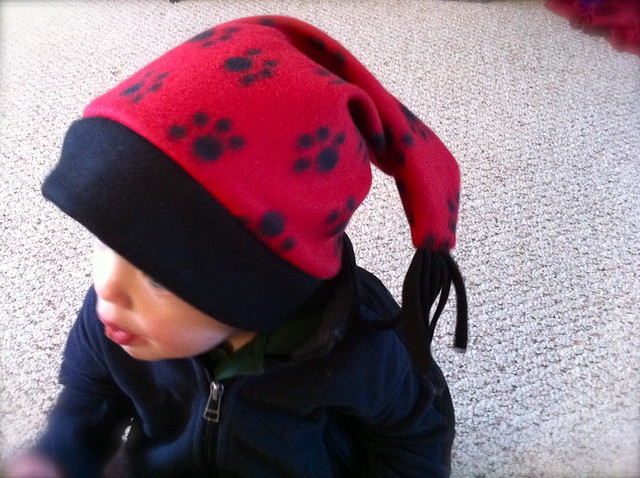
When you turn the triangles right side out, the strips will be sticking out the top.

Fold the large strip in half and sew the two ends together (sorry, this pic is hard to see).

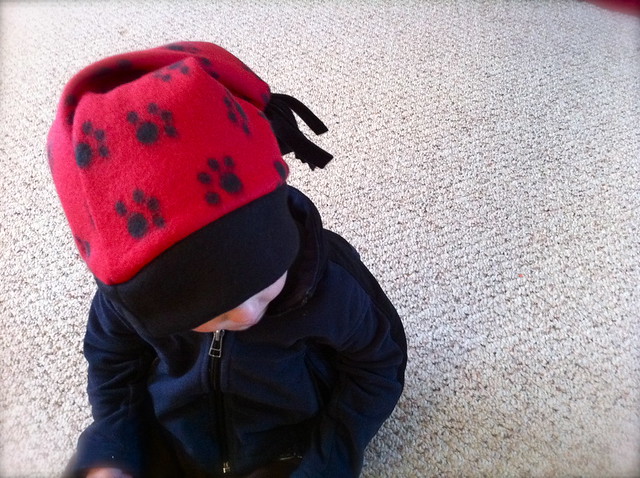
Now fold that strip in half lengthwise so the seam is hidden and pin the edges onto the bottom of the triangle pieces, right sides together (although the strip at the bottom won't necessarily have a right side). Sew them together. And call it good!


0 comments:
Post a Comment